Since I’ve been asked… Here’s how *I* digitize vinyl… there are many ways to do it, There are lots of different tools that you can use. This is how *I* do it at the moment on my Windows 7 computer.
The procedures I use make it a tedious process but the results are well worth the effort to preserve all of that keepsake vinyl a lot of people still have stashed in closets. Since there are a lot of steps, I’m going to break this up into three posts over the next week or so. When you’re done you can play the files on your IPod, or any other device that can play MP3s.
Other parts of the Digitizing Vinyl series:
Digitizing Vinyl: Part 1-A (additional info for dbx encoded records)
Digitizing Vinyl: Part 2
Digitizing Vinyl: Part 3
This is Part 1 – Capturing the file and performing limited digital processing.
In this section you’re going to capture a side of an album, process it and then save it.
Stuff you need:
1. Turntable (line level preamp included)
2. Computer with line input (duh)
3. A copy of Audacity (Awesome Free Software)
4. A copy of the MP3 CODECs (Code/Decodes sound to MP3)
5. A copy of MP3TAG
Do this for each side of the record:
If you have a record cleaning brush to clean the grooves use it… The more lint, dust and other crud you remove from the record, the better.
Steps:
Step 1.
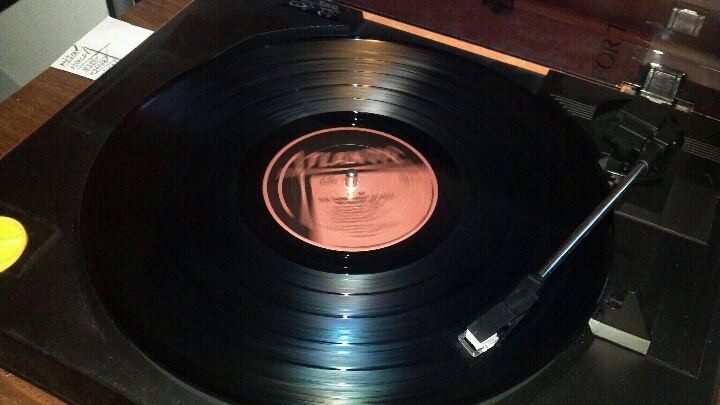
Capture the entire album side with Audacity in 1 run. If you have skips you’re going to need to work them as you see fit; I try to manually hold the tone-arm back when I know there are skips, I’ve surprised myself by making recordings of a few scratched albums that you can’t tell were scratched in the final MP3.
Step 2.
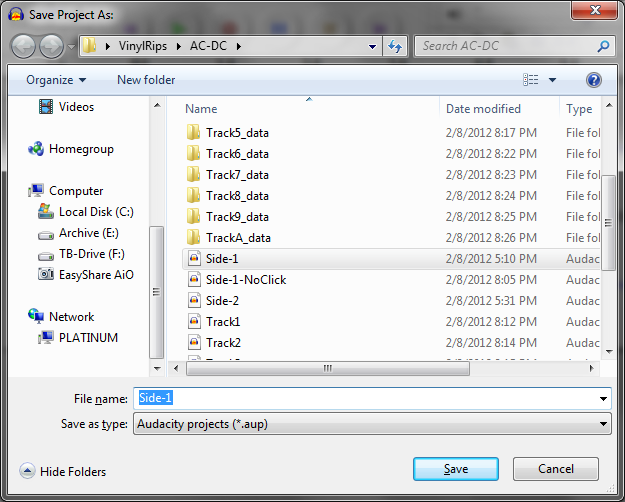
Save the file in Audacity’s native file format (.aup)
Step 3.

Select the entire album (ctrl+A)
Step 4.
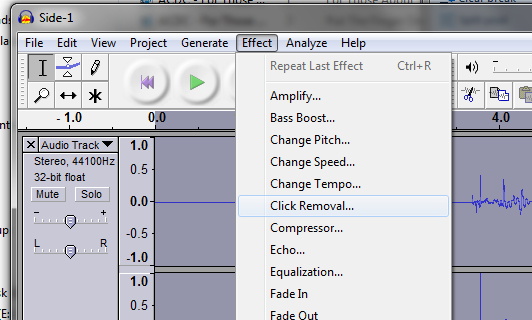
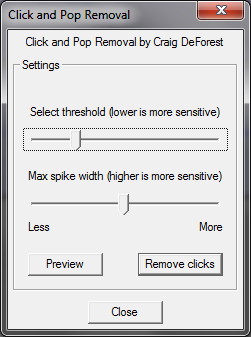
Select the Effect Menu, then Select Click Removal, Then select the remove clicks button… Wait!!
Step 5.
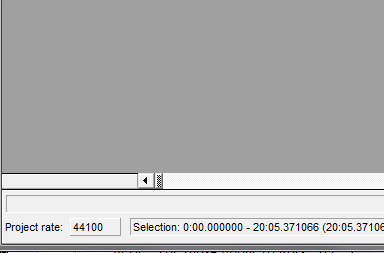
Use the left scroll slider on the bottom of the screen to select the very beginning of the album, it’ll be as far to the left as it can go.
Step 6.

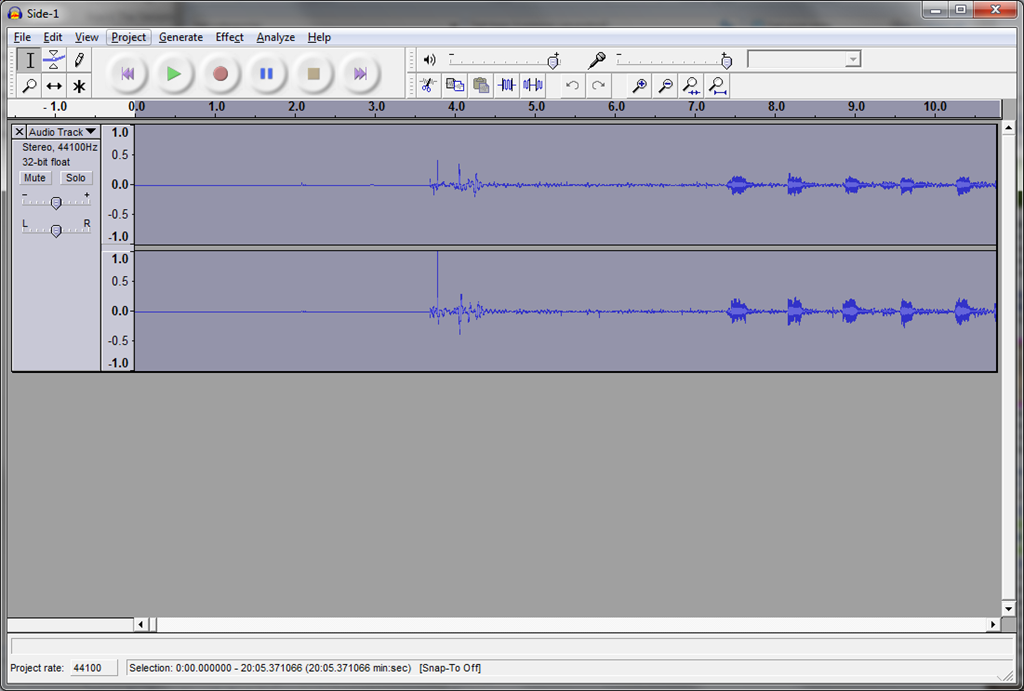
Find an area at the beginning of the record where there’s surface noise from the record but no scratches or pops and NO MUSIC. Select a VERY NARROW area in the noise.
Step 7.
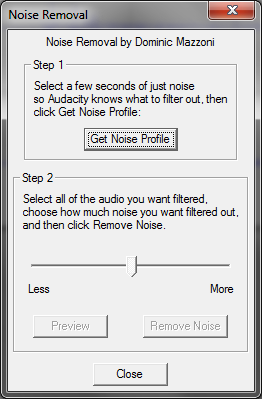
Select the Effect Menu, Select Noise Removal, and then click the “Get Noise Profile” button.
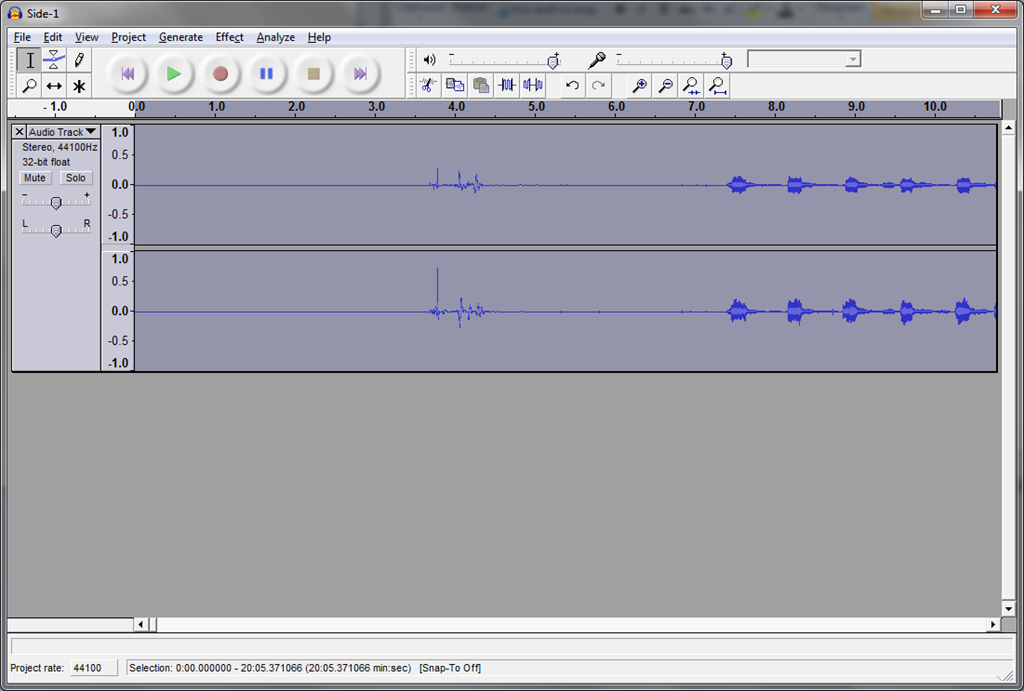
Note: if you select a large area of noise, the final product won’t sound very good.Step 8.
Select the entire album again (ctrl+A)
Step 9.
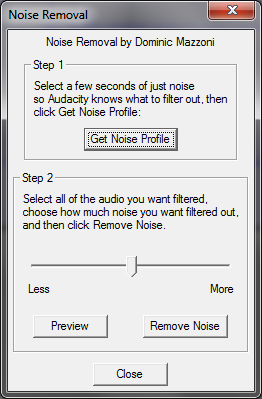
Select the Effect Menu, Select Noise Removal, and then click the “Remove Noise” button.After the noise removal procedure completes the noise signature goes almost flat as depicted in the next image:
Step 10.
The last step is to Save the file again so that you save all of the work you just completed… Select File, and then select Save.
That is the end of the capture and processing and the end of Part 1 of this series…
Part 2 of this series will describe chopping and exporting the individual tracks into individual mp3 files.
Part 3 will tell you how to tag the file and add album art.