This is the final part of a 3 part series on digitizing vinyl.
Digitizing Vinyl: Part 1 (and Part 1-A)
Digitizing Vinyl: Part 2
So now we have a directory containing 10 MP3 files, 2 Audacity project files and 2 directories containing the Audacity raw data:
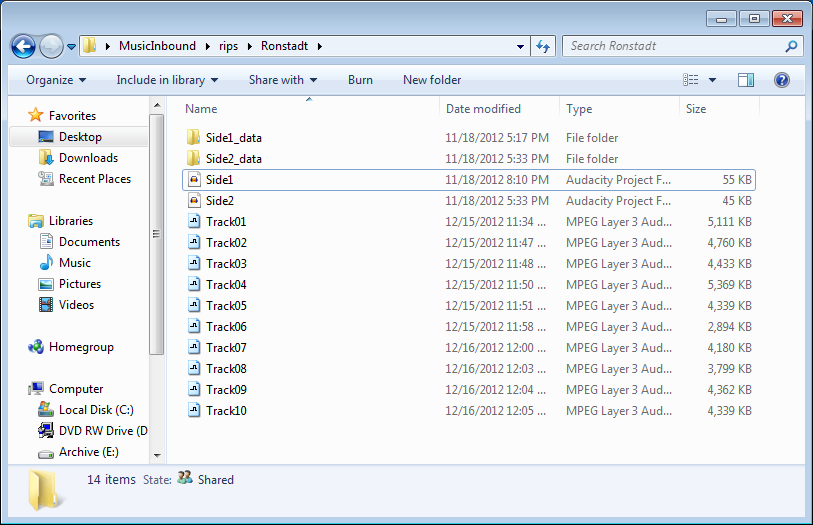
The MusicInbound directory is on my desktop. I use it to save music I’ve imported from CD with iTunes and when I digitize vinyl. This particular directory is Linda Ronstadt’s “Heart Like A Wheel” album, one of 12 albums I bought out of the 50 cent bin at Homer’s in Omaha last month.
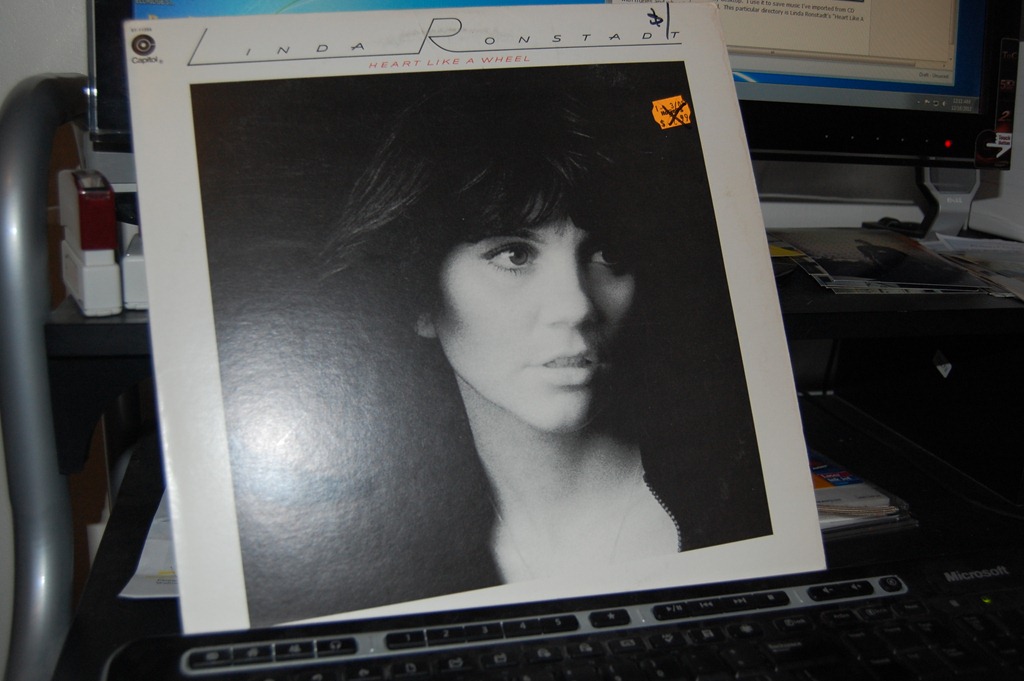
In this final part of the series we’ll be tagging the MP3 files, adding an image of the album cover and adding info about the album to each track in the notes section of the mp3 tags.
Picking up where we left off in Part 2:
Step 24.
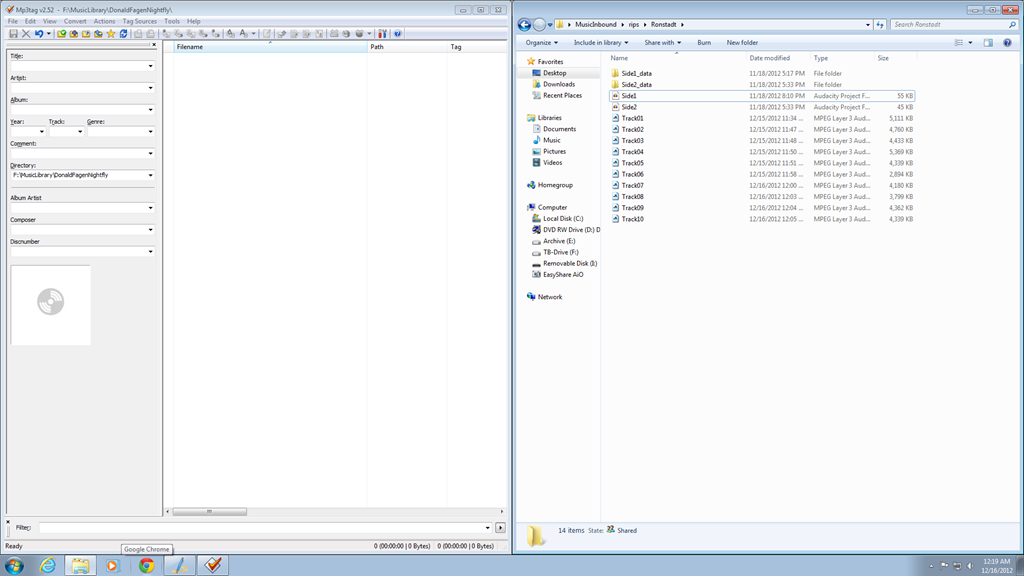
Open up MP3TAG and Windows Explorer (NOT Internet Explorer) and browse to your directory containing your MP3 files.
Step 25.
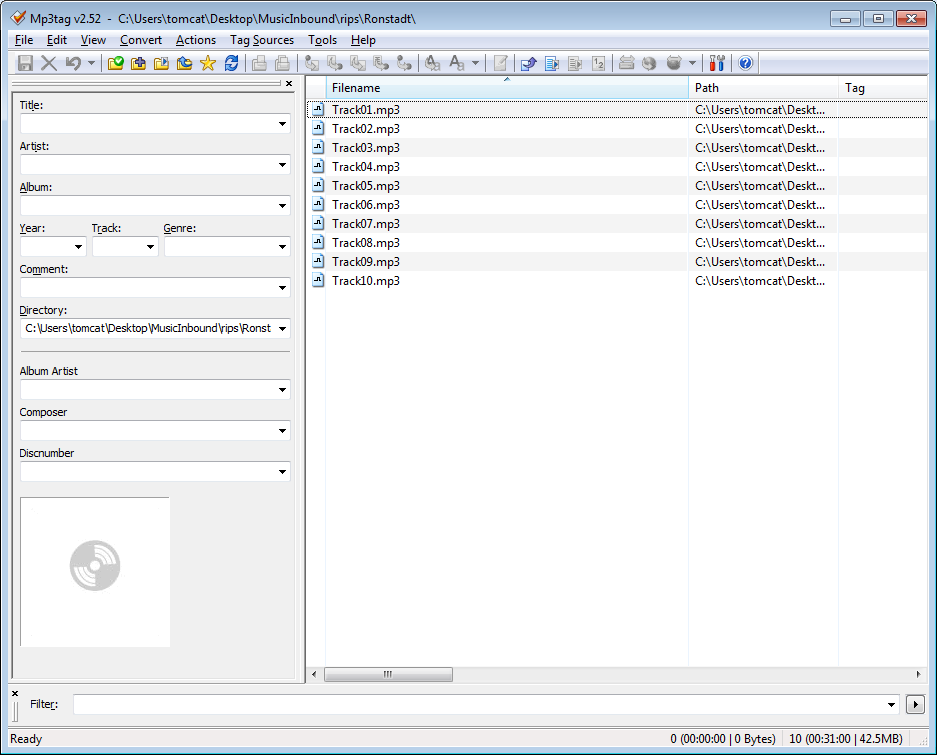
Drag all of the MP3 files over to MP3TAG.
Step 26.
Select all files by hitting CTRL+A.
Step 27.
Enter the Artist, Album, Year and Genre.
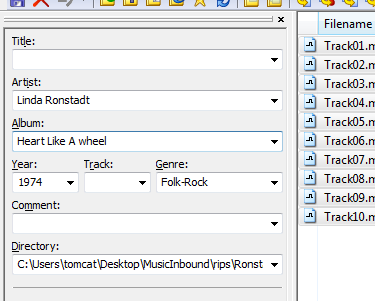
Step 28.
Select Track01 and enter the Title and “01” for the track number. I do this in 2 digits so the tracks play in the correct order when I play them on my iPod or on WinAmp on my computer.
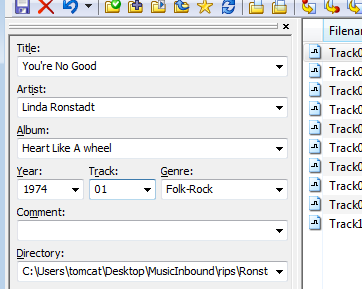
– Repeat step 28 for each song on the album.
Step 29.
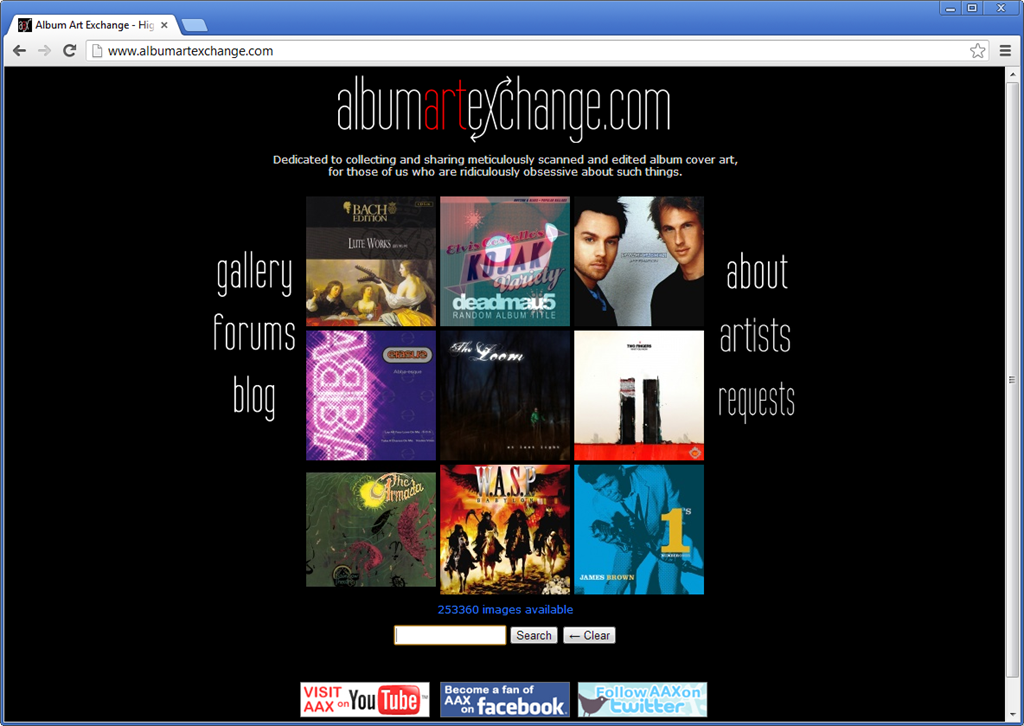
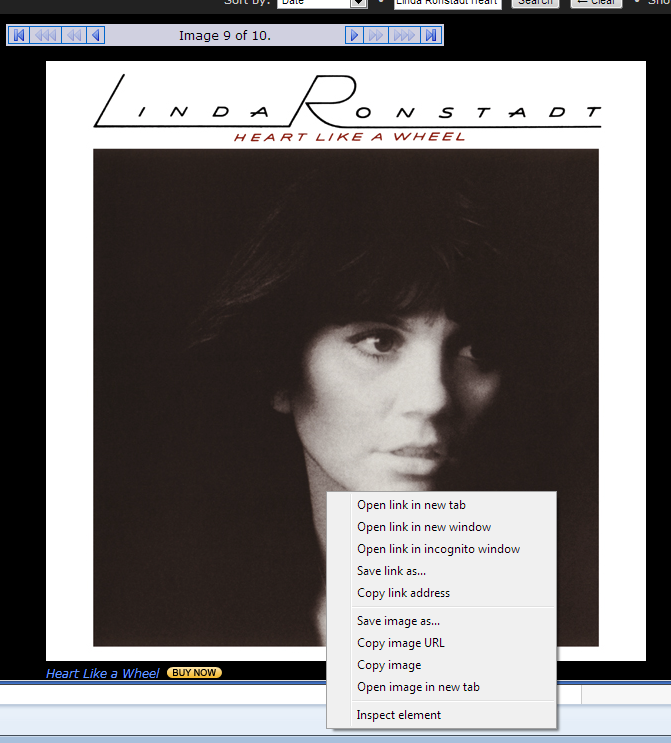
Now you need your Album Art. I download images of album covers at www.albumartexchange.com. Just click on the gallery and do a search for the album art you’re looking for. I usually use 600×600 images…
In this case we’re looking for Linda Ronstadt’s “Heart Like A Wheel” album
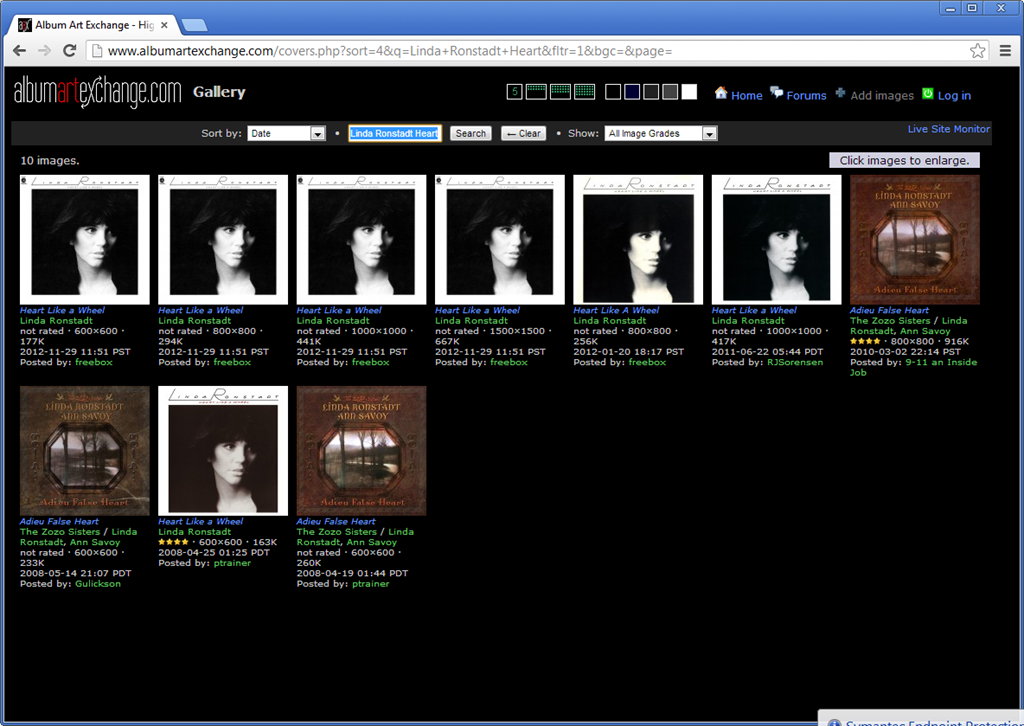
Just click on the cover you want and you’ll see it in the size you want. Just right-click on the album art and save as whatever you want to call it somewhere on your computer so you know where you can find it. I generally save it where the mp3 files it goes with are.
Step 30.
Close the browser and go back into MP3TAG and select all files by hitting CTRL+A (again).
Step 31.
Right-click where the cover goes in MP3TAG and select Add Cover…
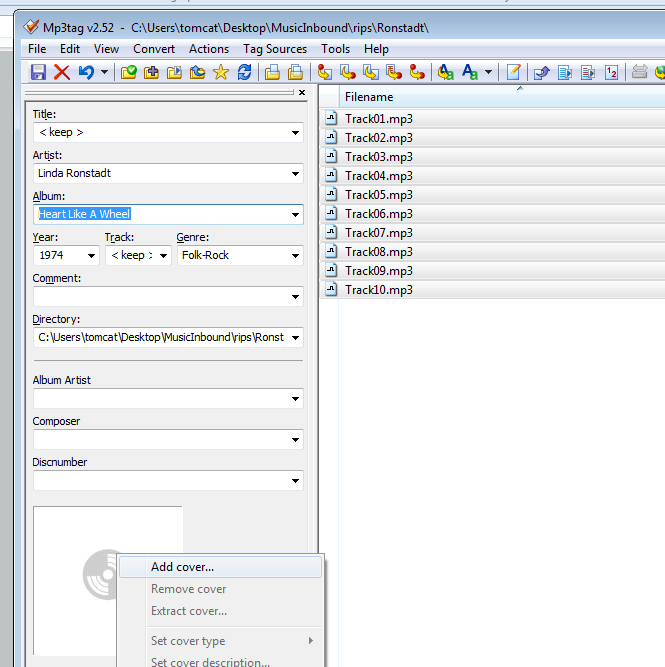
Step 32.
Select the file you saved in Step 29 and click the Open button.
Your screen should have all of the files selected and the album cover image should show up in the box in MP3TAG.
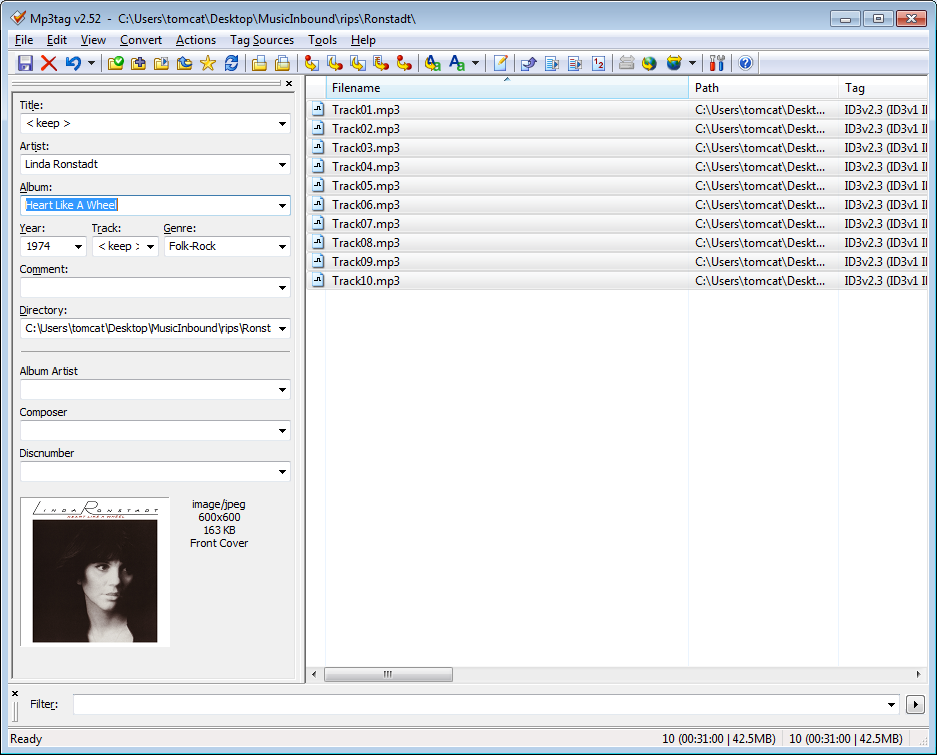
Step 33.
This step renames the files so that they can easily be identified on your hard disk. On the toolbar at the top of the window you’ll notice near the menu a series of short-cut buttons. There’s on that allows you to use the MP3 tags to name the file. Make sure all of your files are still selected (CTRL+A) and select the button to rename the files based on the tags:

A window will pop up allowing you to set the pattern for the filename:
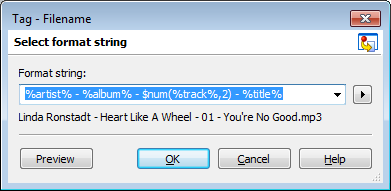
If you use the pattern like I have in the “Format string” box, the first song of the record I’m working on gets renamed to:
“Linda Ronstadt – Heart Like A Wheel – 01 – You’re No Good.mp3”
When you hit the ok button the entire set of files representing the entire album will be renamed and the previous screen will come back showing the files with their new names.
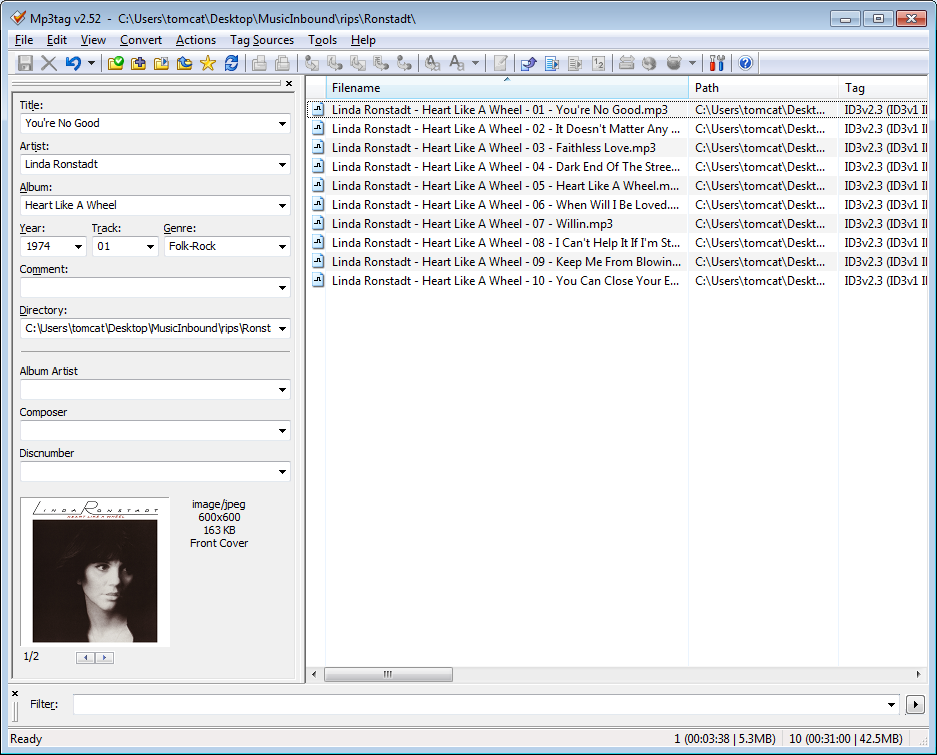
Step 34.
Move the files to wherever you normally store your music. I keep mine on an archive drive. Each album gets its own directory. You can now load the music onto your iPod, iPad, Cell phone or wherever else you use to listen to it.
Important Note: Sharing this music once you’ve converted it is still illegal under Copyright law… DON’T do it!